I was recently asked by Gretchen N. Peterson, why I recommend to adjust the buffer size around vectortiles with the zoom level. I will try to explain that in this post.
Rendering Vectortiles
First we have to understand how exactly vectortiles are rendered and displayed.
Similar to raster tiles, vector tiles are stitched into one big image within your browser from smaller images (tiling). The only difference is that the actual rastering (converting data to an image) of each vector tile is done in your browser (client-side) instead by a server. This saves bandwidth and allows to re-use the vector tile data for different rendering styles.
First, each vector tile is rendered individually onto a canvas that is larger that the actual tile. This canvas is then clipped to the actual boundingbox of the tile and stitched together with all other tiles.
Usually, vector tiles are created with a buffer. That means the vector tile will contain data that is outside the visible area. So what will happen if we remove that buffer?
Clipping
Lets have a look at a screenshot of a vector tile map:
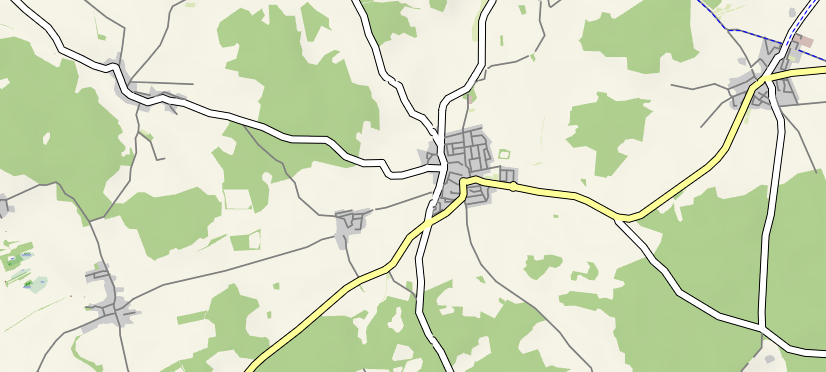
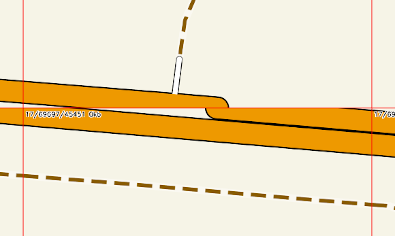
Looks pretty normal but if you look closely, you will notice several spots, where the roads look somehow clipped/distorted:
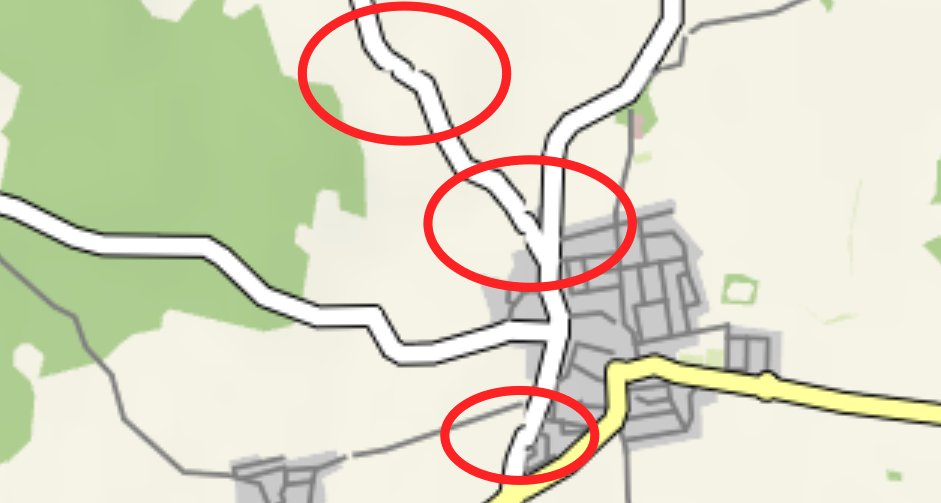
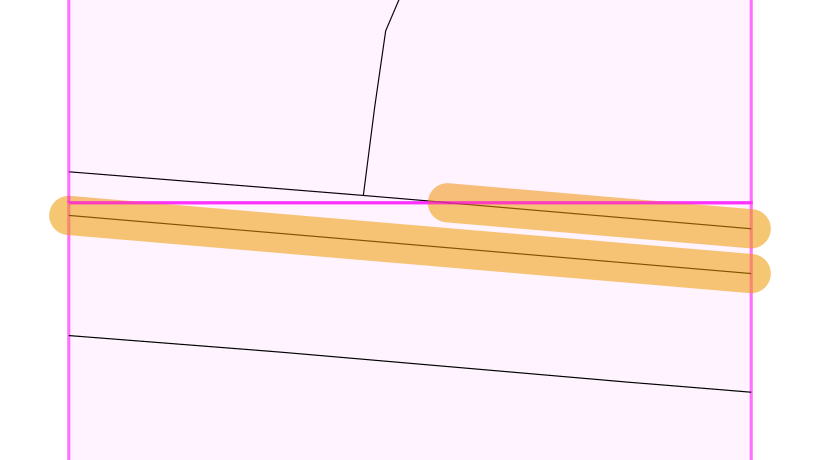
These pictures were taken from a map rendered from vector tiles that were created with NO buffer at all around the actual tile. The clipping occurs exactly on the edges of the tiles:
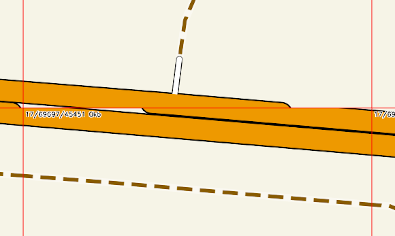
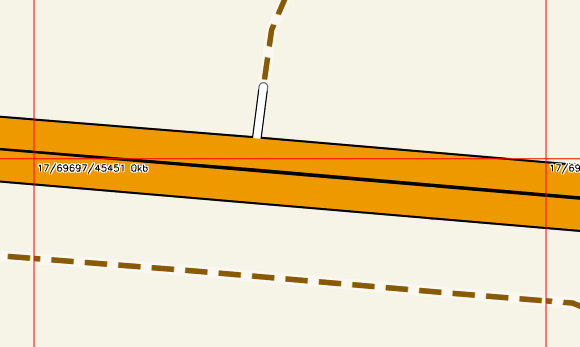
The effects becomes even more noticeable as we zoom into another area and increase the with of the lines (zoom level 17):
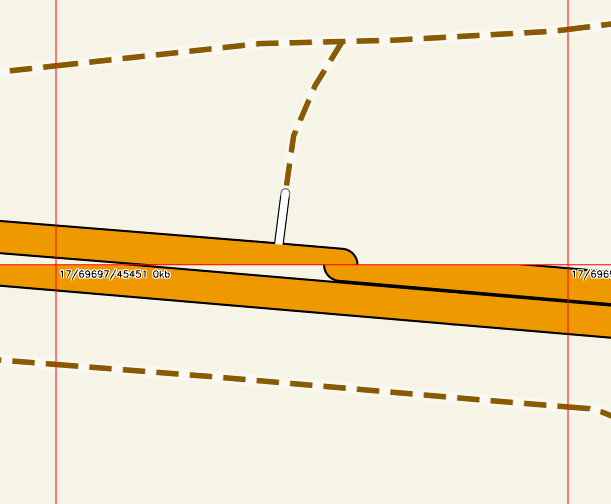
The reason for these clipping artefacts is, that 1-dimensional features of a vector tile (like roads) are actually rendered with a line-width thus being drawn as “2D shapes”. This is an x-ray-view of the lower tile being rendered before clipping:
The motorway features are rendered as thick lines but they end right at the edge of the tile leading to a gap in the line after assembly with it’s neighbor tile.
This can be observed with feature that are rendered with very thick lines and that have a sharp angle between them an the tile edge.
But there is a simple solution!
Buffer
By introducing a buffer around each vector tile during creation, features are extended beyond the tile boundaries, allowing the features of one tile to overlap with the continued feature on the next tile.
| Buffer | Raw | Rendered |
|---|---|---|
| 0 | 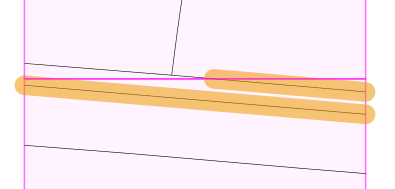 |
 |
| 64 | 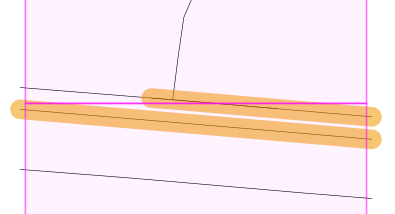 |
 |
| 128 | 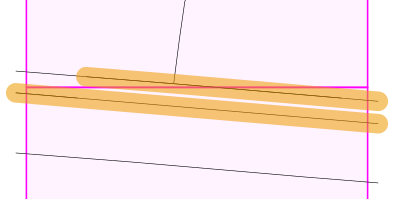 |
 |
| 256 | 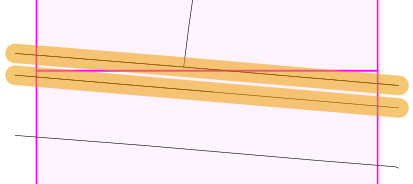 |
 |
A buffer of 128 coordinate units is already sufficient to render the motorway smoothly w/o any clipping.
Most vector tile creation frameworks support definition of the buffer:
| Framework | Method/Parameter |
|---|---|
| PostGIS | ST_AsMVTGeom() |
| Tegola | tile_buffer |
| CloudTileserver | buffer |
Buffer Size
A vector tile has (usually) an extend of 4096x4096 coordinate units. The buffer is also specified in coordinate units. Having a buffer of 256 coordinate units around the tile means we increase the tile area by ~26%.
So what is the optimal setting for the buffer? This strongly depends on
- the rendering framework (e.g. MapboxGL, Nextzen)
- the style you use to render the features. Thicker lines means you need more buffer around the tile to avoid clipping artefacts.
A larger buffer means that the vector tile contains more features and the filesize is increased. The difference is really small though:
| buffer=0 | buffer=256 |
|---|---|
| 114267 Bytes | 115515 Bytes |
 |
 |
The filesize increases by around 1% between a buffer size of 0 and 256. So, if in doubt, increase the buffer. It will not cost you much.
You should always use a minimum buffer around your vector tiles to ensure compatibility with all rendering frameworks.
I suggest the following:
| zoom level | buffer |
|---|---|
<15 |
64 |
15..17 |
128 |
>17 |
256 |
Labels
But what about Labels? Are they also affected by clipping and do I need to increase the buffer again to prevent issues?
This depends heavily on the renderer. The Mapbox GL JS renderer is doing a pretty good job with labels. Here is an example rendered from vector tiles with no buffer at all:
The point-features with the places and name property are shown as big red dots. You can see that neither clipping nor duplication happens. Most likely, Mapbox is rendering all labels separately from the other features and merging them later onto the canvas/texture.
So you don’t have to worry about labels with the Mapbox renderer. Other renderers may be different.
Have fun!